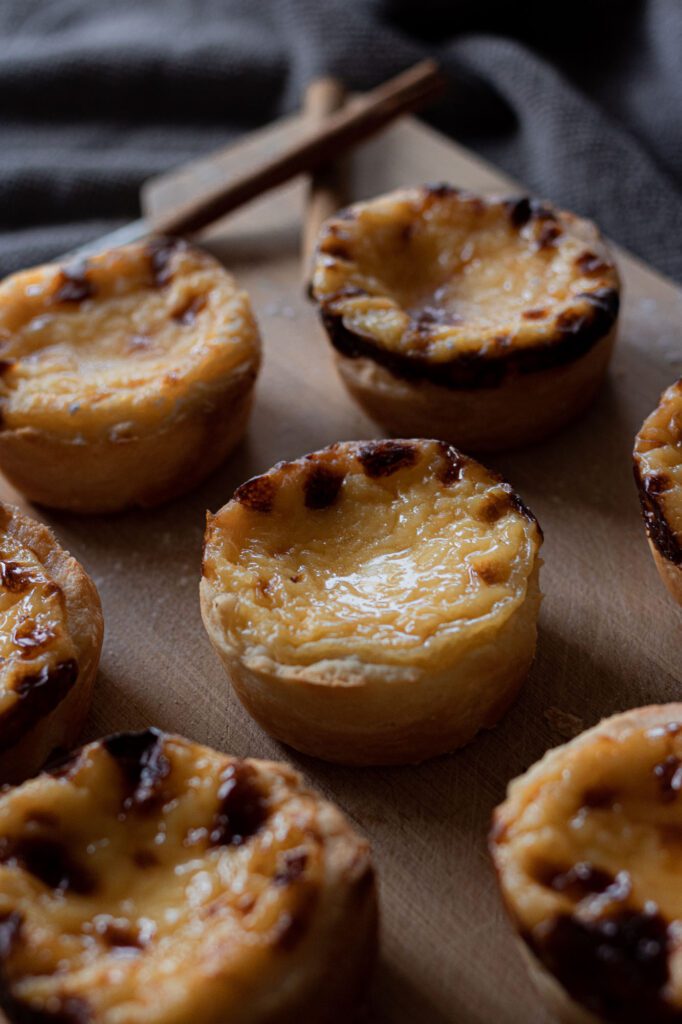
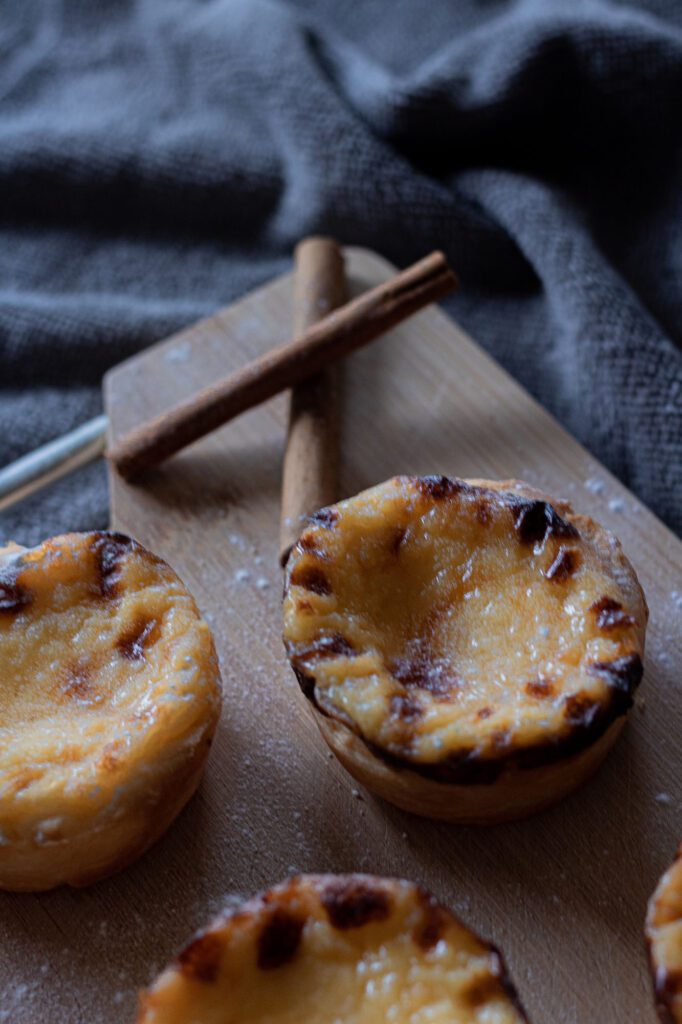
What do you need?
To make the little round pastries, you need a baking mold with small round (muffin) tins. You also need two different pans, a whisk and an oven that you can heat to 280° degrees.
Ingredients for Pasteis de Nata
You can make the tastiest Pasteis de Nata with the following ingredients:
1 roll of puff pastry
250 ml of whole milk
150 ml of water
2 egg yolks (M)
25 gram butter (unsalted)
2 tbsp flour
150 grams of granulated sugar
1 tsp cornstarch
8 thinly peeled lemon slices
1 tsp vanilla extract
2 cinnamon sticks
Note! This amount is enough for 9-10 pastries.
Step by step: How do you make Pasteis de Nata?
It is not difficult! We will explain step by step how to make the best Pasteis de Nata.
Step 1: Make the custard
You start by making the custard. In a bowl, stir together 2 tbsp flour, 1 tsp cornflour, 2 egg yolks and 50 ml milk with a whisk until it’s smooth. Add the remaining 200 ml of milk in a pan along with half of the butter, 1 tsp vanilla extract, 4 thinly peeled lemon slices and 1 cinnamon stick. Bring this almost (!) to a boil. Make sure that the mixture is warm and in the meantime keep stirring with the whisk in the pan. Is the mixture warm enough? Then remove the cinnamon stick and lemon peels. Pour the warm mixture from the pan into the bowl with the white flour, cornstarch, egg yolks and the other milk. Keep stirring. Return the mixture into the pan and bring to a boil, stirring continuously, until it turns into thick cream. Add the other half of the butter to the thick cream and stir it further until it is lump-free. Is it lump free and has the butter melted completely? Then you can remove the pan from the heat.
Step 2: Prepare the sugar syrup
Now make the sugar syrup. Put 75 ml water, all the granulated sugar, 1 cinnamon stick and the 4 thinly lemon peels in a pan and put it on the fire. Don’t set the heat too high, as it can go wrong quickly. Do not stir, just move the pan occasionally and make sure all the sugar is moist. After a while the mixture turns into a nice brown sugar syrup. Then lower the heat and carefully add the remaining water to the mixture, continuing to swirl the pan so it doesn’t clump. Leave it on low heat for a while. Then remove the cinnamon stick and lemon peels from the sugar syrup.
Step 3: Finish the custard
To finish the custard, gradually add the sugar syrup to the custard. Keep stirring all the time so that the custard stays lump free. Save some of the sugar syrup so you can sprinkle the top of the Pasteis de Nata at the end.
Step 4: Fill the baking tins with the custard
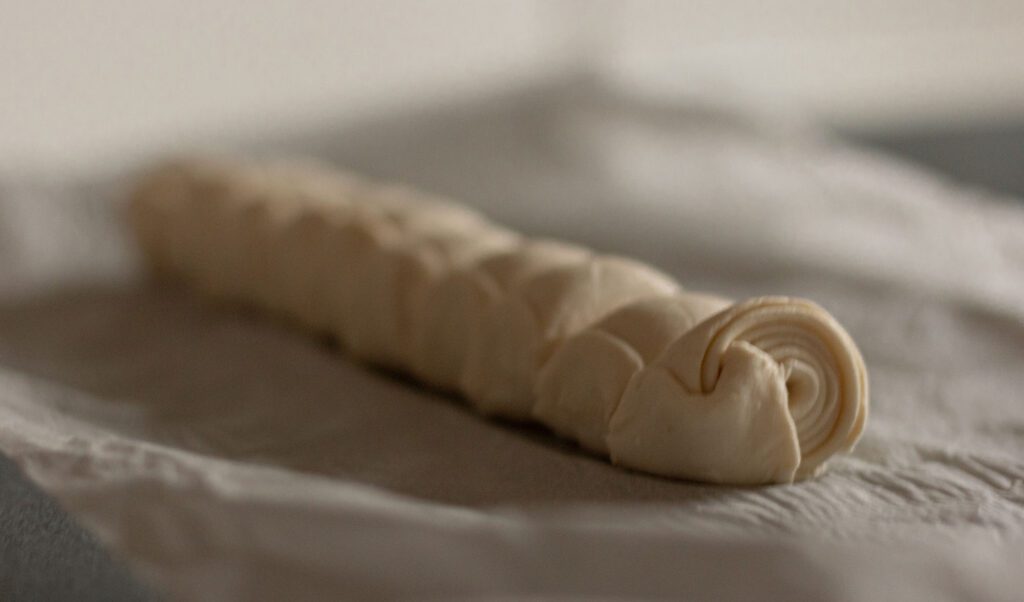
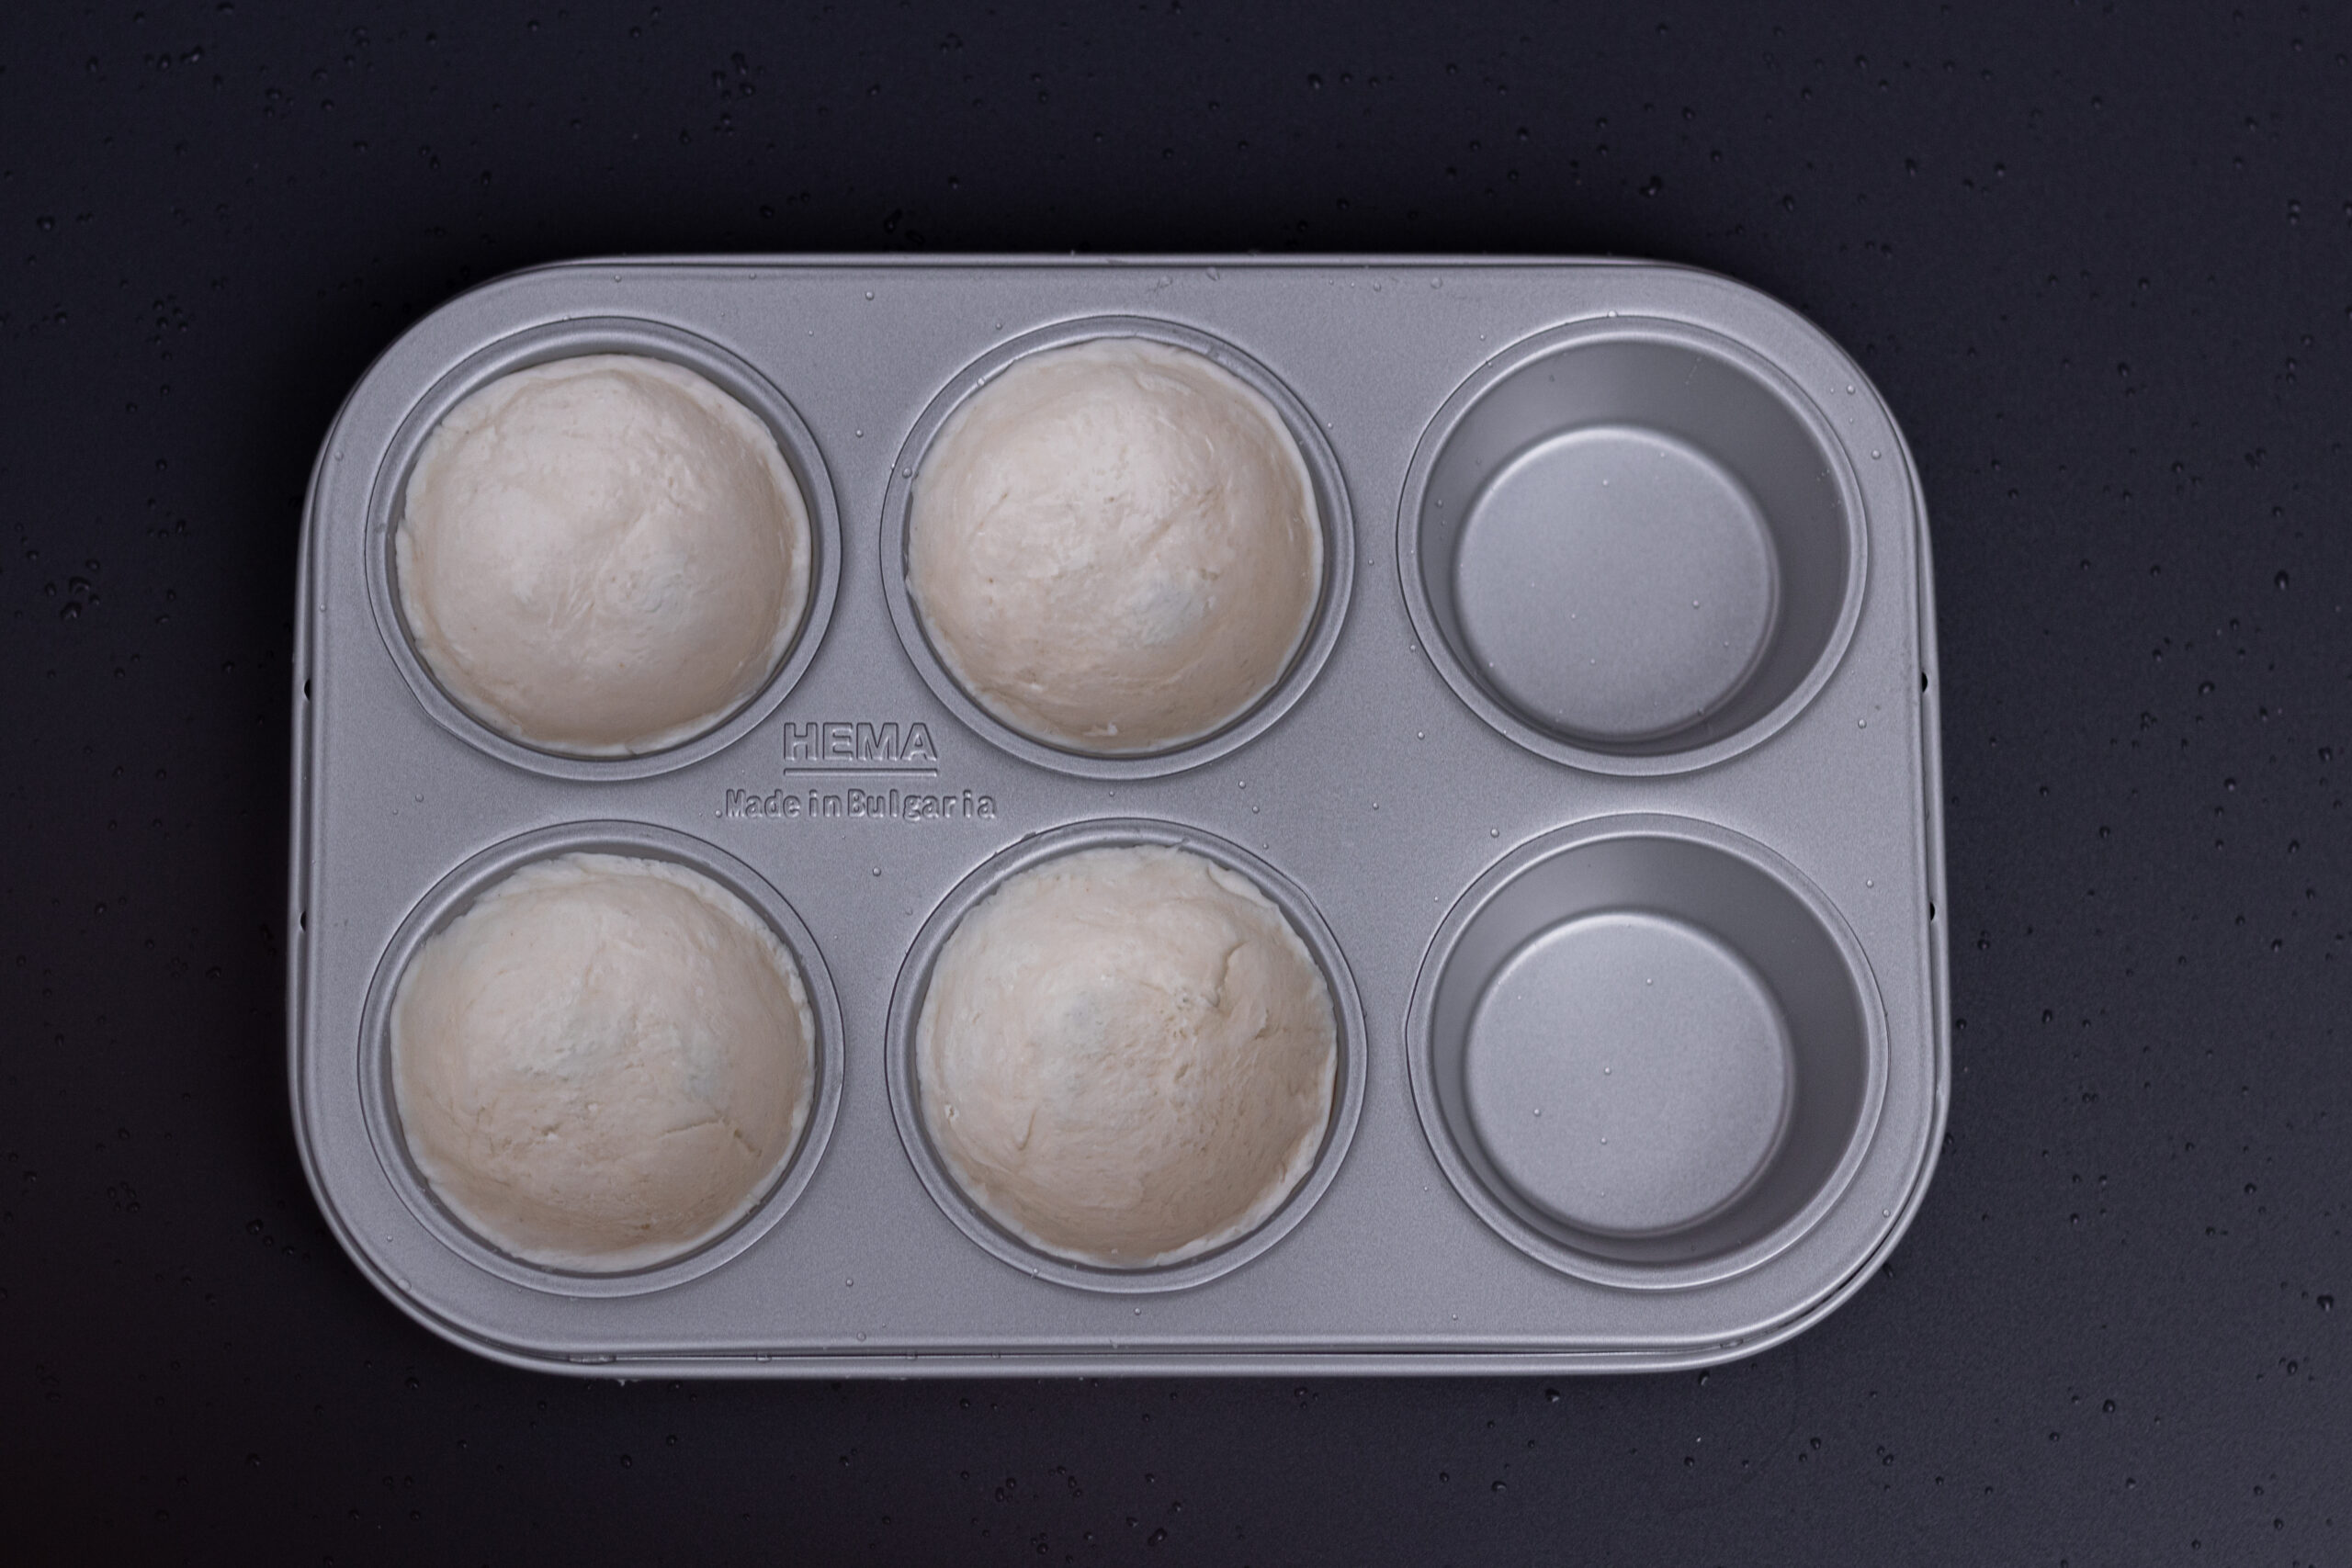
Before the Pasteis de Nata can go into the oven, there is still some preparation that needs to be done. Roll up the puff pastry. Then cut the roll into 9-10 slices. Grease your baking cups with butter. Fill the 9-10 baking molds with a piece of dough and spread the dough up to the edges of the tins. This gives you 9-10 beautiful cups, which you can now fill with the custard. Make sure there is no air between the dough and the tins, make some holes in the bottom of the dough if necessary. Fill the baking cups just below the rim with the custard because the custard will puff up a bit in the oven. They are now ready for the oven!
Step 5: Into the oven
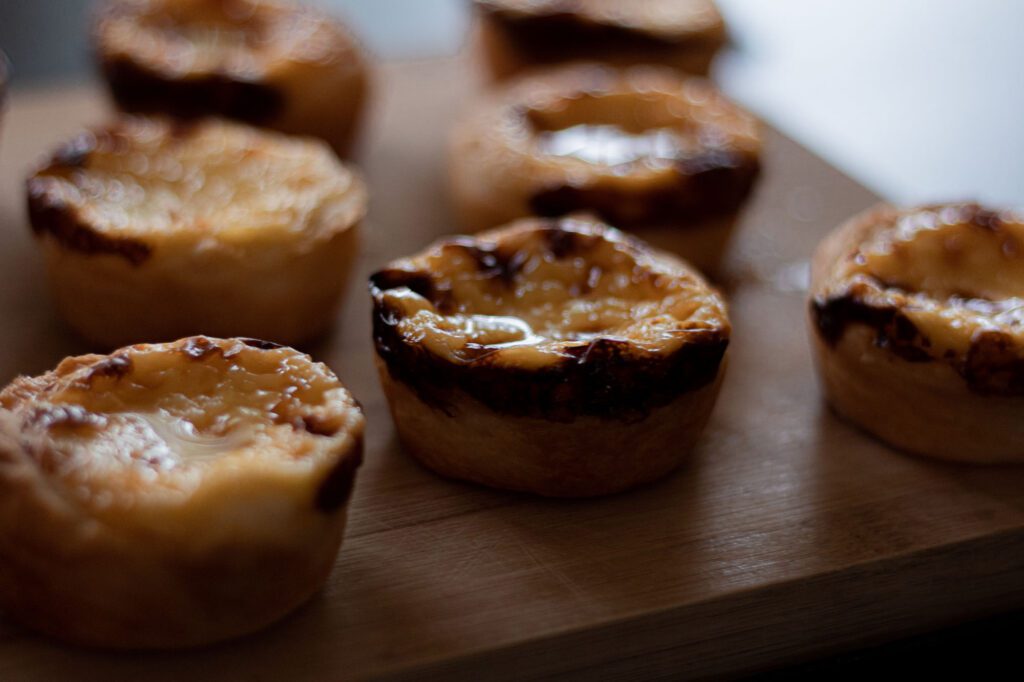
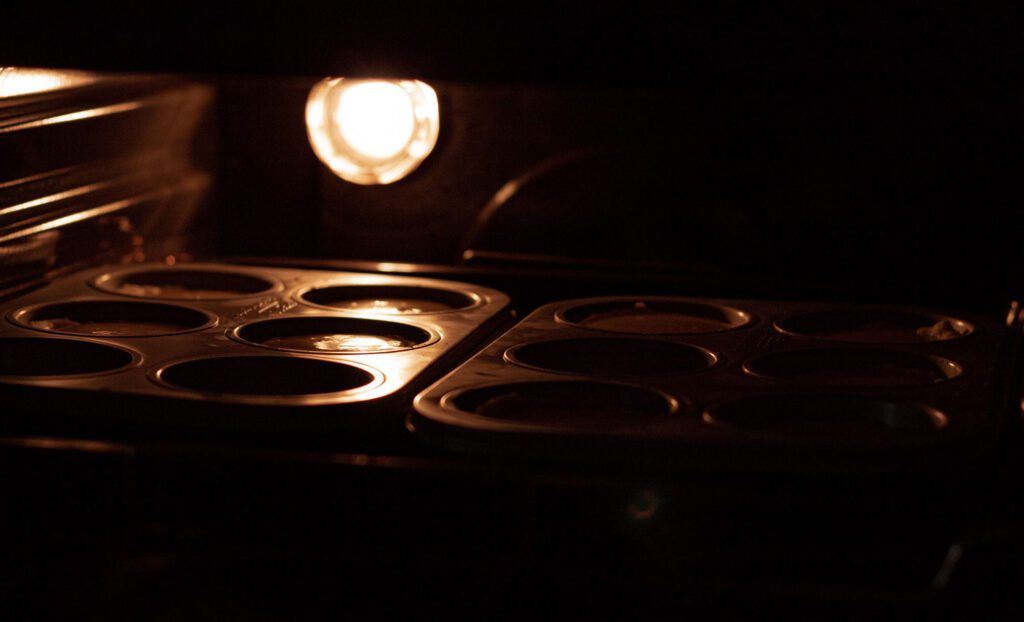
Heat the oven at the top and bottom on the highest setting (about 280° degrees) and place the rack high in the oven. When the oven is preheated, place the baking tins on the hot grid and bake the Pasteis de Nata for 10-15 minutes at 280° degrees. Until the tops of the pastries turn brown. When the Pasteis de Nata are out of the oven, leave them in the baking tins for another 10 minutes. Take them out and now you can sprinkle them – while they are still warm – with the remaining sugar syrup.
Step 6: Serving Pasteis de Nata
The sweet puff pastries can be served cold or warm. We prefer eating them cold, then you will taste more of the vanilla and the cream is thicker. You give the final touch by sprinkling the pastries with icing sugar or cinnamon if you like. This gives that little bit extra flavor to the Pasteis de Nata. And now… Just taste!! And dream away to your favorite memories of Lisbon.
